 |
|
|
Life in Washington - The Building of Our Outdoor Kitchen |
|
|
Home > Life in Washington - Outdoor Kitchen |
|
| For our seventh wedding
anniversary we decided to give each other the gift of a wood-fire oven.
It was something we had talked about for a few years, and we decided the time was right to turn our dream into a reality. This webpage will capture the progress of the build. |
|
| We decided to have the kitchen
built next to the garage to give easy access to the house, and it also
allows us to put all the charcoal and wood burning equipment together. |
|
 |
 |
 |
|
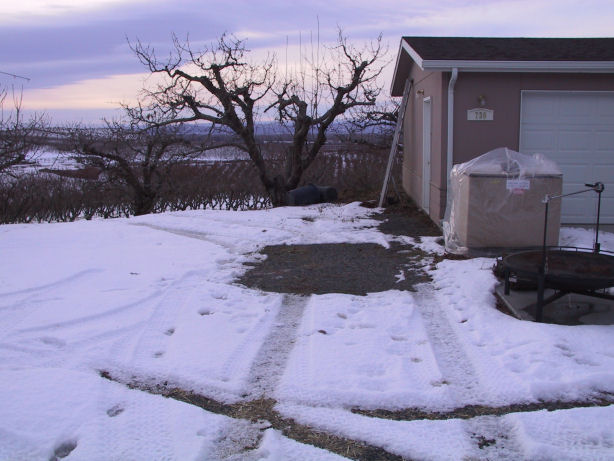
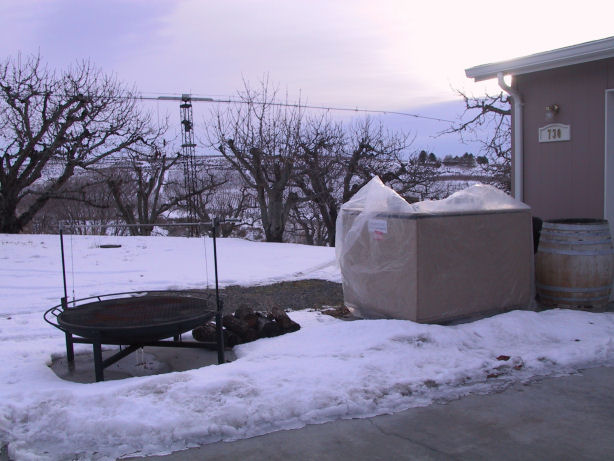
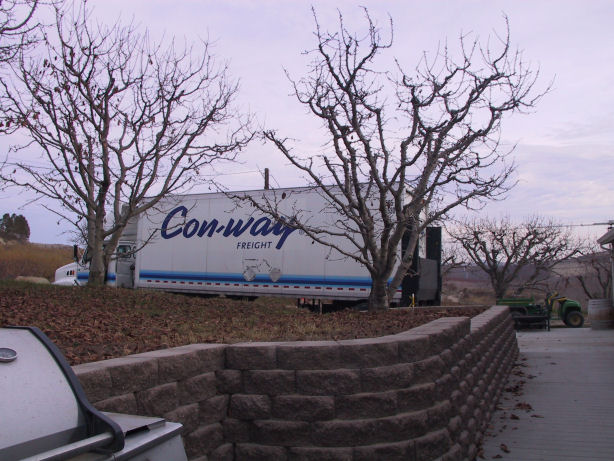
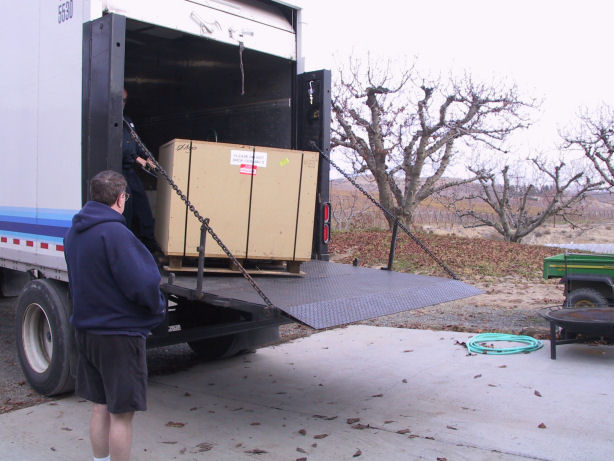
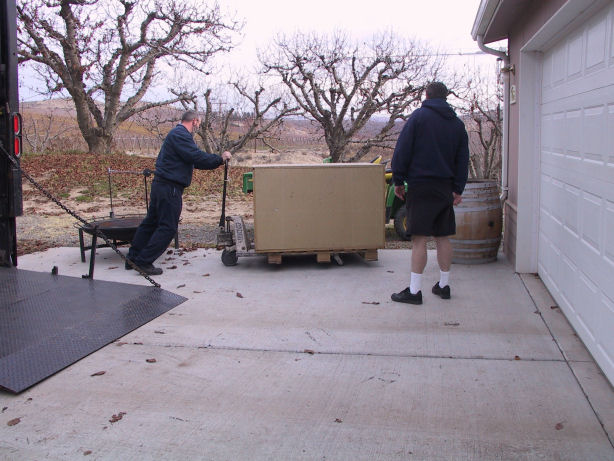
| December 5,
2008: The oven arrives. We opted to go with an
Earthstone
Wood-Fire Oven. Model 110 to be specific. It has a cooking area of 43". That would give us plenty of room to cook multiple pizzas and lots of other goodies. The oven weighs 1,700 pounds! |
|
 |
 |
 |
|
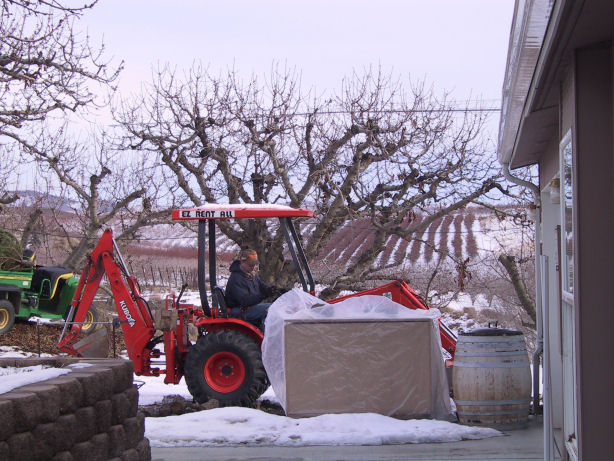
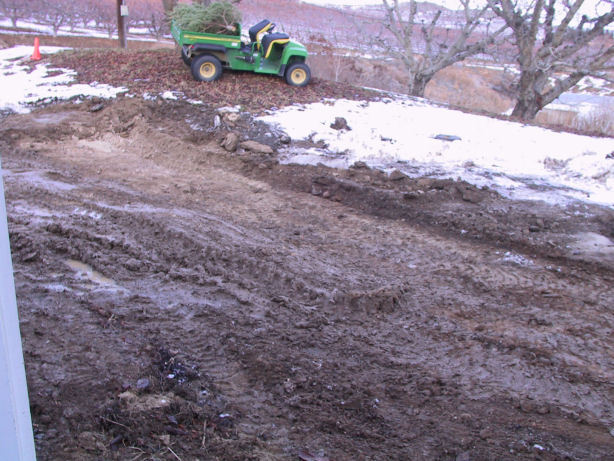
| December 31, 2008: Our contractor starts the project. | |
 |
 |
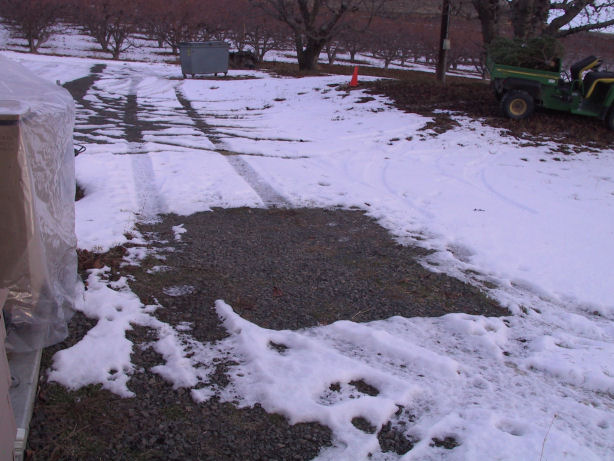
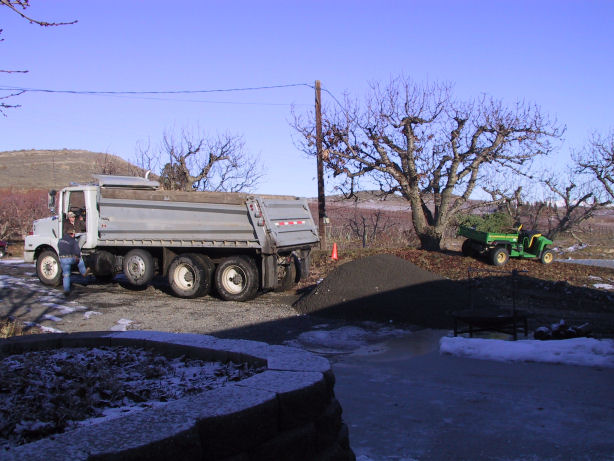
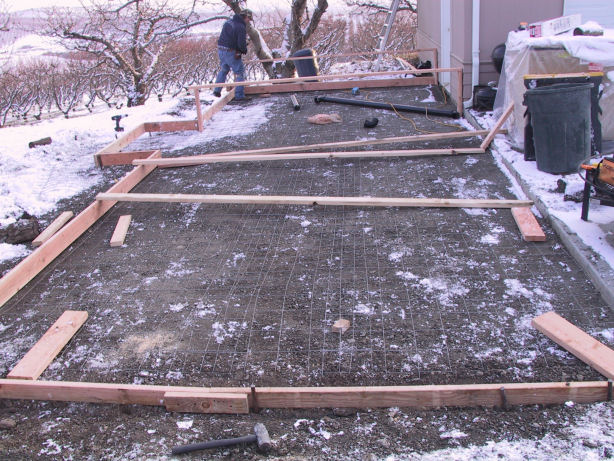
| January 2, 2009: The gravel arrives. | January 5, 2009: Forms are built. |
 |
 |
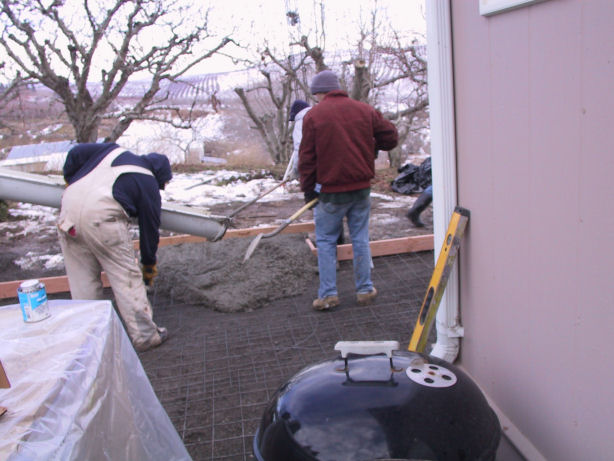
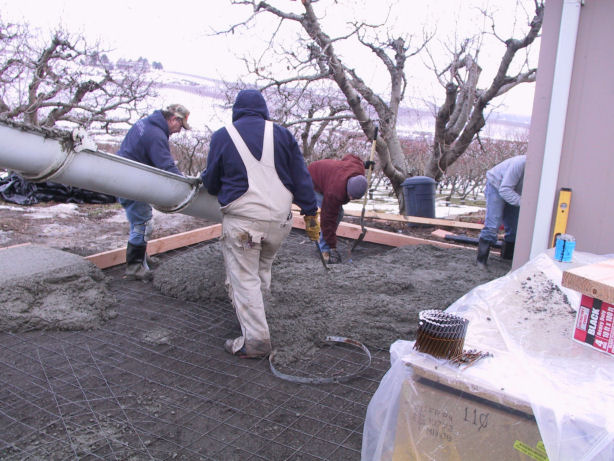
| January 6, 2009: Concrete is poured for the pad. | |
 |
 |
| January 7, 2009: The completed pad. This makes our dream seem a little more real. | |
 |
|
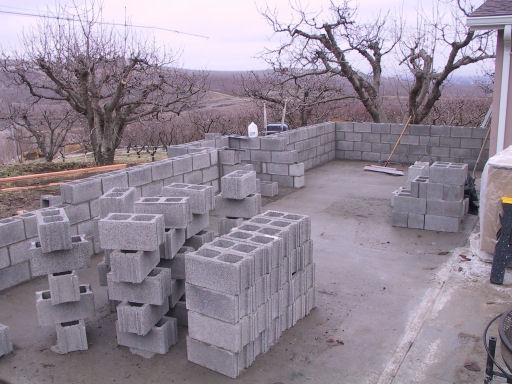
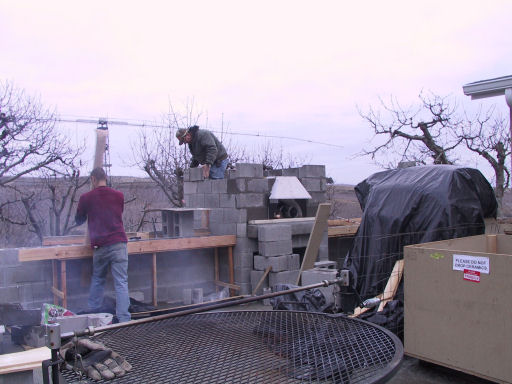
| January 13, 2009: Block laying begins. | |
 |
 |
| January 22, 2009: Slowly it is beginning to look like something. The oven support area is starting to take shape. | |
 |
 |
|
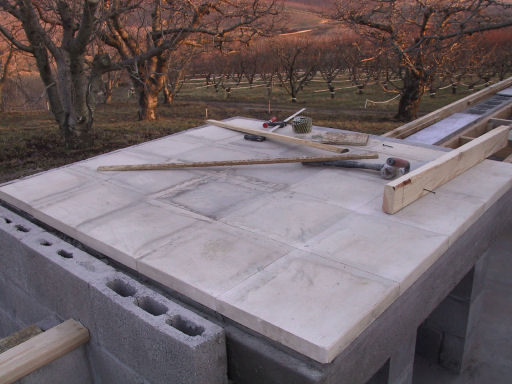
February 2, 2009: The floor tiles are laid on a
six inch concrete slab. Forms are built for our counters, and
actual oven is put together for the first time. It's starting to look REAL for the first time! |
|
 |
 |
 |
 |
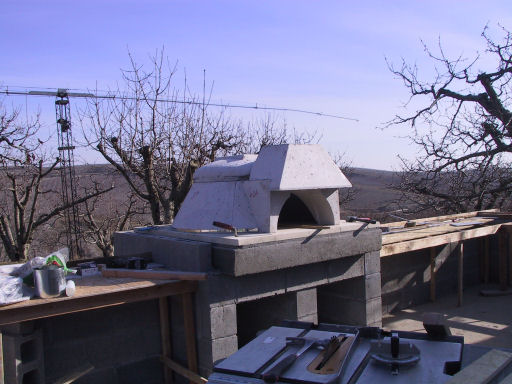
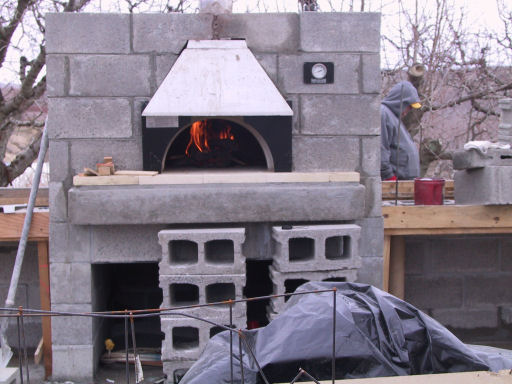
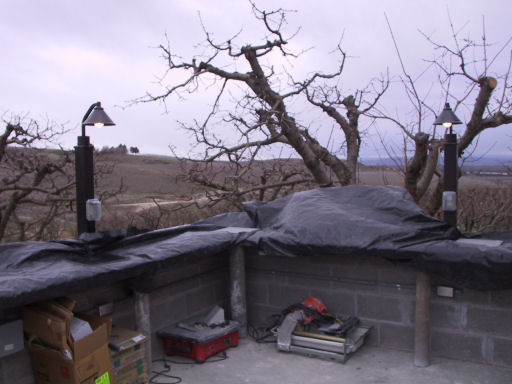
| February 9, 2009: The oven's protective housing is being built. | |
 |
 |
|
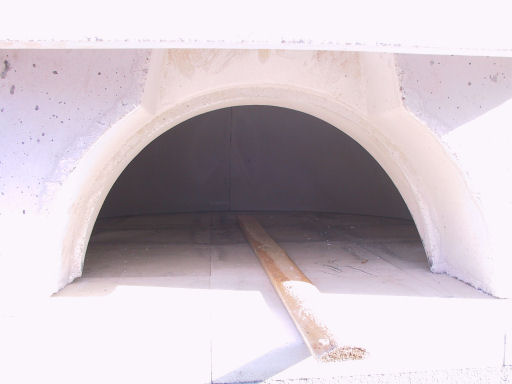
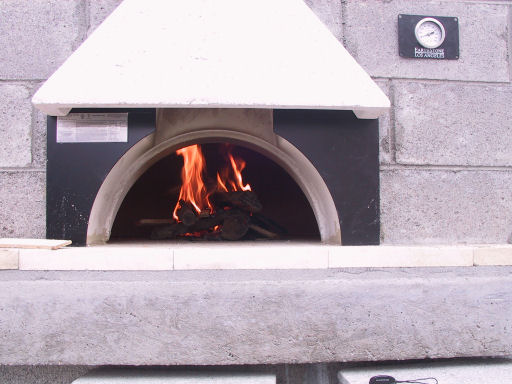
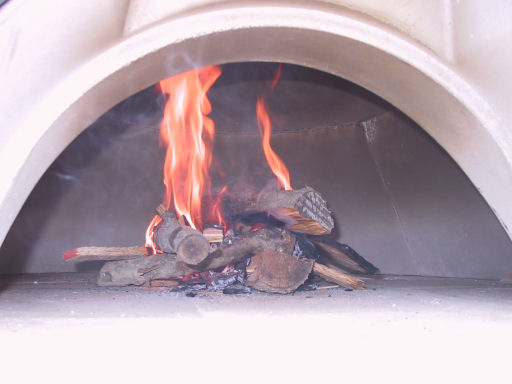
February 13, 2009: The curing process begins.
For six days we light a small fire and allow it to burn for one hour.
After an hour, we replace the door and let the fire slowly burn out. This dries out the inside of the oven and prepares it for use. |
|
 |
 |
 |
|
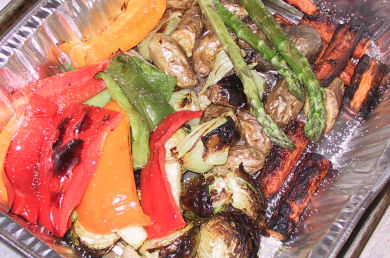
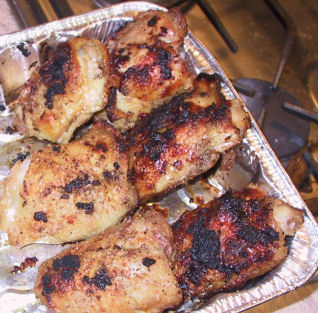
| February 18, 2009: Our first dinner in the wood fire oven... roasted chicken thighs and assorted vegetables. | |
 |
 |
 |
|
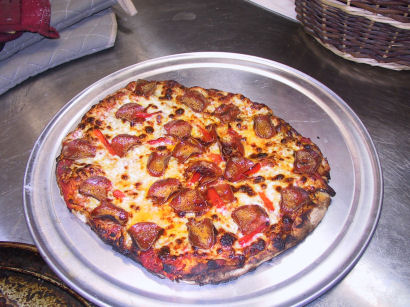
| February 19, 2009: Our first pizzas! | |
 |
 |
 |
|
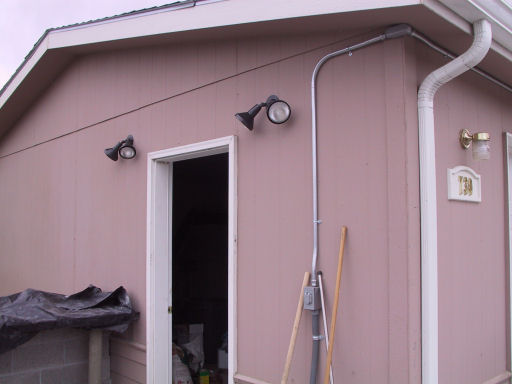
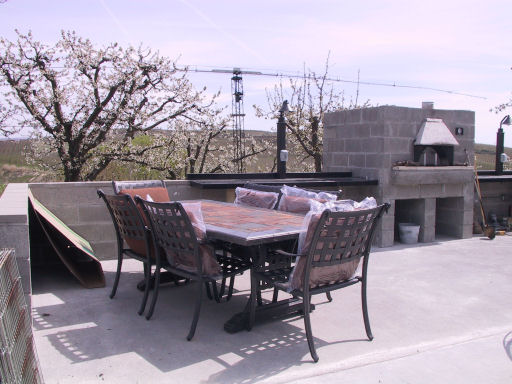
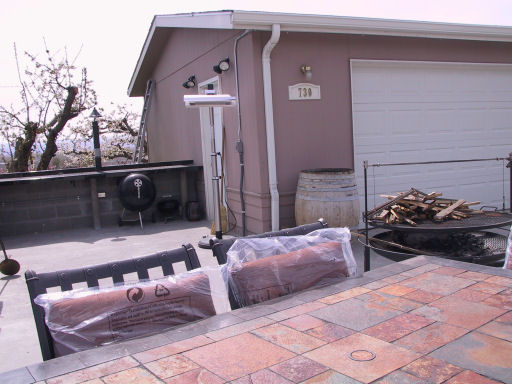
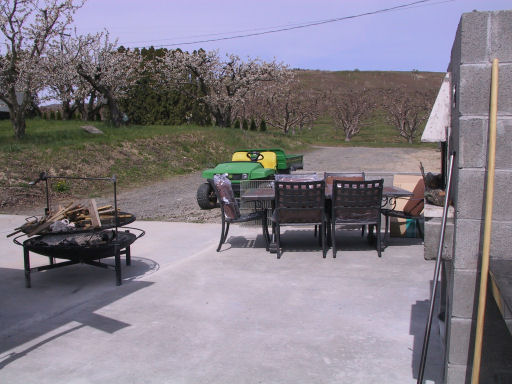
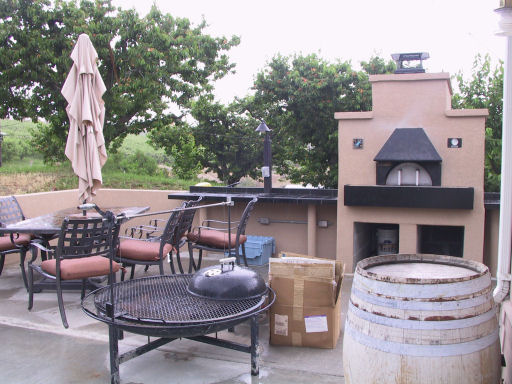
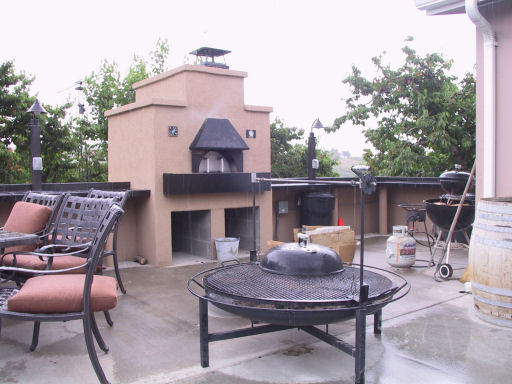
| April 18, 2009: It's been pretty slow going, but the kitchen is coming together. We didn't like the concrete counters so we had black granite tile installed. We have lights at both the counters and on the side of the house. And we purchased a new patio table to seat 6. | |
 |
 |
 |
 |
 |
 |
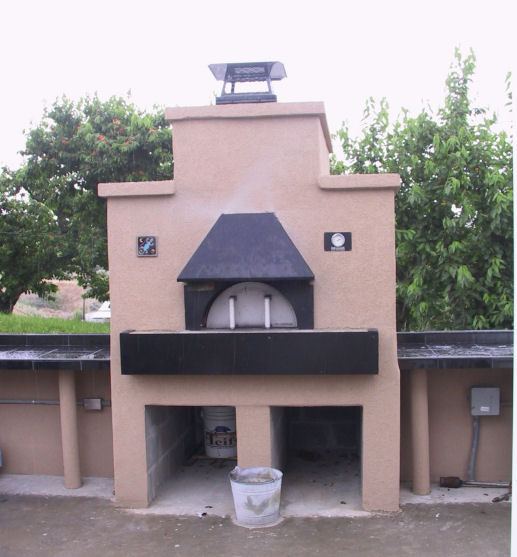
| June 7, 2009: 99% done! The black metal accent pieces gives the oven a very nice, finished look. The stucco guys did a fantastic job. This is such a nice area. | |
 |
 |
 |
 |
 |
|